This was a fantastic opportunity to raise some funds for the Community Rescue Service whose members donate so much of their time (amongst many other things) to help locate vulnerable people in our community. 24 climbers took part and 24 made it to the summit and made it safely down again. If this strikes a…Read more
Altataggart Mountain
Today’s anticlockwise circular hike starts from the Leitrim Lodge car park. The hike takes in gravel trails, forest trails and open mountain.
Starting from the car park follow the gravel trail heading towards Rocky Mountain. After a few hundred meters take the gravel trail to the right going through the gate. Once on this trail you should be heading SSW.
Keep following this trail. You will eventually arrive at a recently felled forest. Here the track becomes narrow once you cross over the stream. It can get very muddy in places if it has rained recently.
Following this track until you reach a style. Once over the style you will join a wider gravel track.
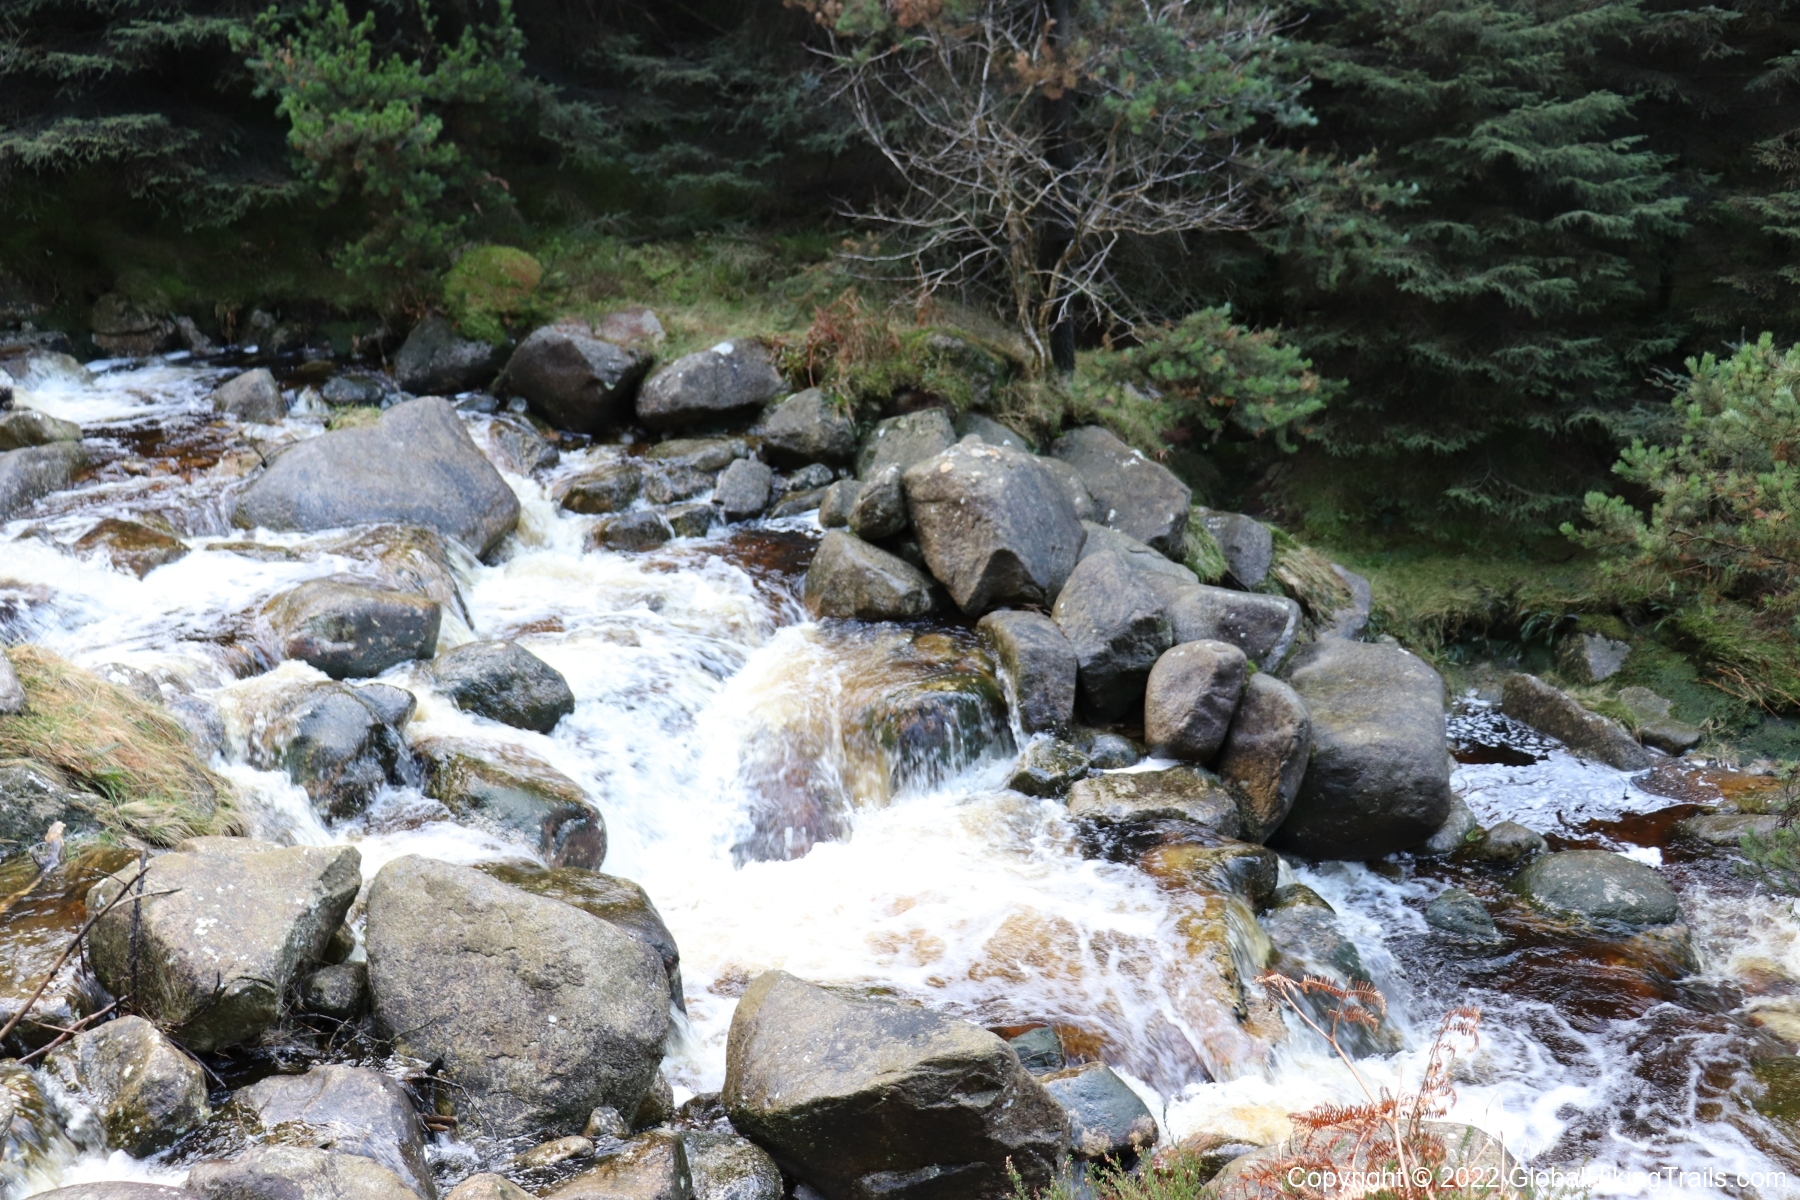
Follow this track until you reach a bridge. Crossing the bridge will take you to the Yellow River picnic area if you want to stop for a break. To continue the route take the small gravel trail to the left of the bride and follow the steep ravine until you break out of the forest on to a wide gravel trail. Turn right here.
After a hundred meters or so take the left fork to head east. After a few hundred meters you will find a forest trail on the left marked by a large stone. Keep following this trail NE and you will soon break out of the forest. Once over the fence you will find a feint but easily found trail on the open mountain. Continue on this trail until you meet Batt’s Wall and cross it.
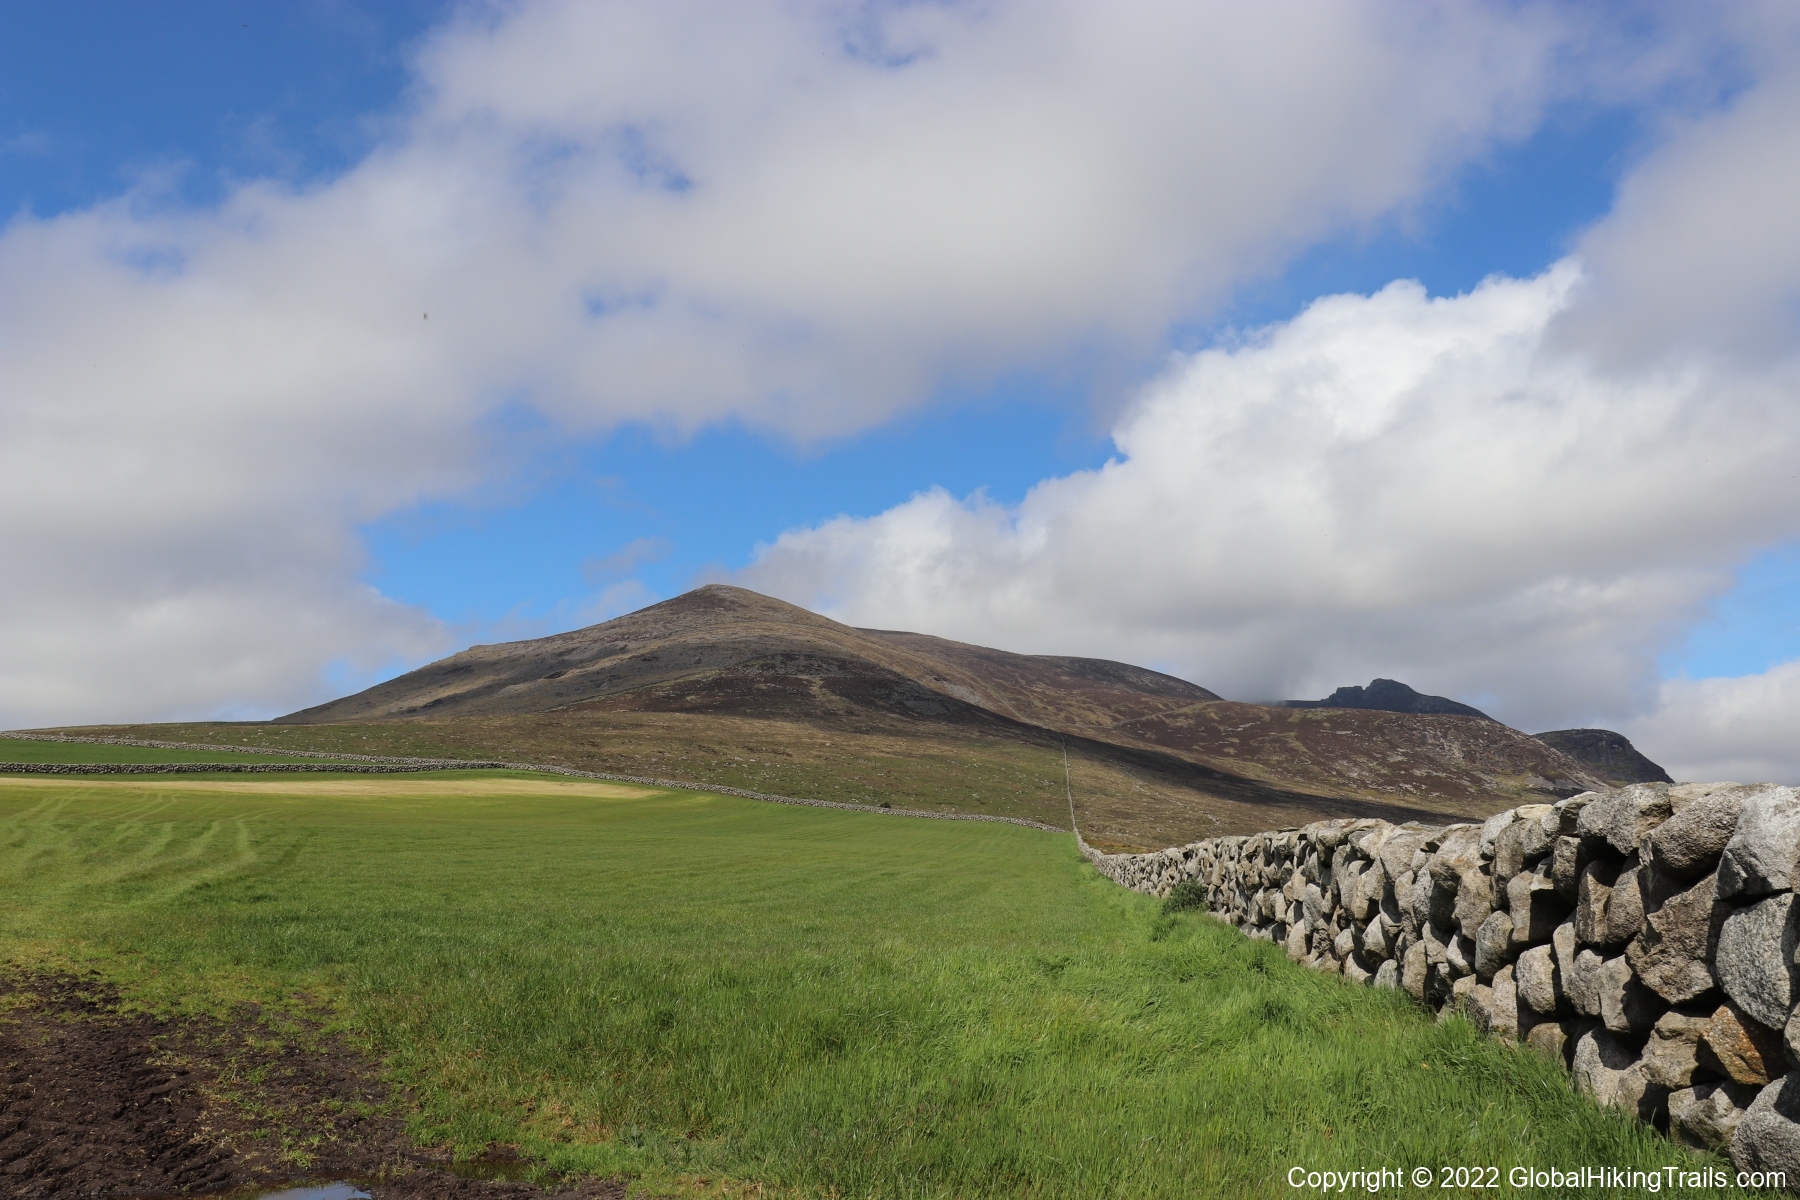
Follow this trail and soon you bear right and then bear left to take the middle track across the very flat Altataggat Mountain. You will see Pierce’s Castle in the distance to your right.
Once you have crossed Altataggart mountain keep descending on the gravel track which will take you back the Leitrim Lodge car park.
A GPS trace is available for this route, please Contact us.
Statistics
Length: 11km
Elevation Gain: 380m
Elevation Loss: 380m
Highest Point: 469m (Tievedockaragh / Batt’s Wall)
Lowest Point: 161m (Car Park)
Silent Valley
Today’s short walk showcases the beauty of Silent Valley.
The walk starts at the Silent Valley car park. We took in the Nature Reserve trail and then headed towards Slievenaglogh before looping back towards the car park.
There are dozens of trails that criss-cross this site and are mostly gravel and tarmac. It is not unusual to see children out in buggies on these trails as well.
Plenty of car parking is available at a cost of £5 with a café on site for refreshments.
Slieve Binnian Loop

Description coming soon.
Kilbroney Red Bog & Forest Trails

We started the morning with a short lay in as it is the weekend and one of us is unwell and the other one is “tired” from a busy week of dealing with code not doing what it is told to do. After some breakfast and a quick pack of lunches and equipment we set off down the A1 to Kilbroney Forest located at Rostrevor. We always make sure that our rucksacks are packed for every eventuality which could be a lifesaver on an open mountain or until rescue can get to us safely.
Our starting point was the car park at Kilbroney Park which today was quiet apart from a few keen mountain bikers preparing to tackle the trails. Kilbroney is still one of our favourite walking/hiking locations. If you come here expecting to step into a magical land to find a talking lion you’ll be sorely disappointed. Instead, what you’ll find is a network of paths and trails to suit everyone where you can complete a short meander on a well set out path or venture to open mountain which serves as the gateway to the rest of the Mournes.
Today was our 13km “lollipop” route to help us get back into fitness but within the safety of well defined paths. Once out of the car park we tracked left to what was the beginning of our ascent. From here we tracked left through a barrier warning us to report any unruly motorbikes. The route from here only requires you to stick to the path and don’t veer off to the paths on the right. Eventually you’ll come to a sharp ascent which is challenging to those of us who are unfit.
Keeping to this path you’ll eventually reach the Yellow Water car park and what seems to be the end of the path but keep left to follow a track to the car park. This was well timed for a lunch break so we took a rest at one of the picnic benches to consume our soup, sandwiches and tea. Once rested we retreated on the track back to the bridge, went over the bridge and tracked right to go up the side of the river. We hiked this gorge a couple of years ago which was a nice off the beaten track and gave the impression of being undiscovered. Now it is laid in gravel with steps that are aimed at giants. So be warned if you are of average height and under.
At the top we tracked right and kept to the right when the tracked forked. This leads to the bog. About mid point along the bog there is a bench to take a breather and gaze across the bog.
From here the path is straight forward and we just needed to keep on it. After the bog, the path starts to descent and sharply in some places. We kept to the path to reach the path that took us to the Yellow Water car park. This time we tracked left otherwise we would have headed back to Yellow water! Now the path headed back the way we came so we were able to keep to its familiarity.
Back at the carpark we headed to the café for well earned coffees and a sneaky tray bake. Our conversation was planning many more hikes at Kilbroney including some of the more challenging and open mountain routes.
A GPS trace is available for this route, please Contact us.
Statistics
Length: 13km
Elevation Gain: 430m
Elevation Loss: 430m
Highest Point: 354m (Kilbroney Red Bog)
Lowest Point: 35m (Car Park)
